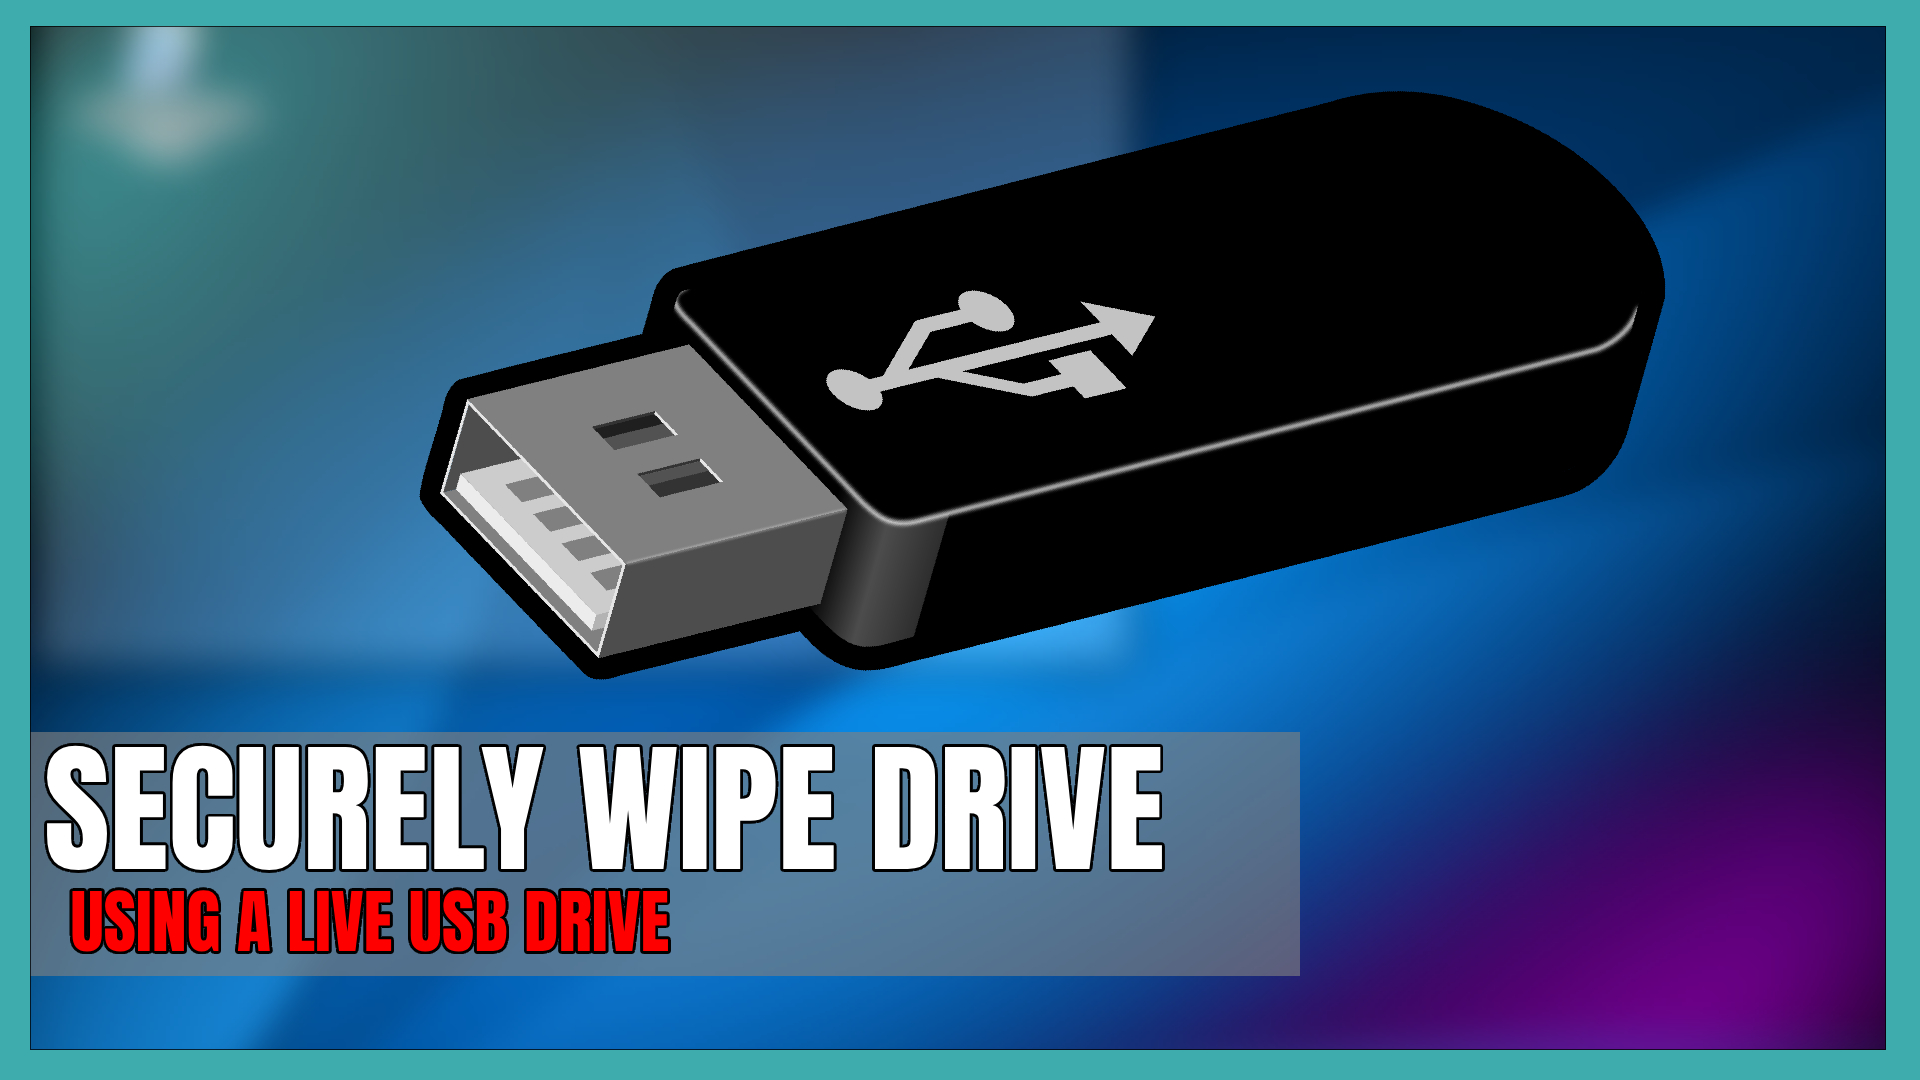
In this tutorial, we’ll explore a secure method for wiping your hard drive or storage device using a live USB with Kubuntu. Whether you’re a business looking to decommission computers or an individual wanting to sell a device without worrying about data recovery, this guide will walk you through the process.

Why Securely Wipe Your Hard Drive?
When selling or decommissioning a computer, it’s crucial to ensure that sensitive data doesn’t fall into the wrong hands. Even seemingly insignificant business data poses a risk if not securely wiped. This method prevents data recovery attempts, providing peace of mind when parting with your device.
The Alternative to Drive Wiping
The only true alternative to Drive Wiping securely is to physically destroy the drive. That either means with a hammer, shooting it, chopping it up etc. For physically destroyed drives I usually have a company shred them apart and provide the information that the drive has been shredded into oblivion.
So keep that in mind, that securely wiping a drive should be good enough. But, if you want to be 100% sure that data is gone for good, you will need to physically destroy the drive for good. With that in mind and you think wiping the drive with DoD Short Method is good enough then let’s begin!
Getting Started with Live USB and Kubuntu
- Booting into Kubuntu Live USB:
- Install a live USB of Kubuntu, ensuring compatibility with older and newer computers.
- Consider using SecureOS or other live distributions if Kubuntu doesn’t boot successfully.
- Accessing Terminal:
- Switch to the terminal screen using Ctrl+Alt+F3.
- Login as “Kubuntu” with no password, gaining root or sudo access.
- Installing Nwipe:
- Execute “sudo apt update” to update repositories.
- Install Nwipe with “sudo apt install nwipe.”
- Running Nwipe:
- Launch Nwipe with superuser privileges using “sudo nwipe.”
- Select the correct drive carefully, as data recovery won’t be possible after wiping.
- Initiate the wipe process by pressing Shift+S.
- Patience During Wipe:
- The wiping duration depends on factors like drive size, speed, and CPU power.
- Wait patiently for the process to complete.
Selling Your Device with Confidence
After successfully wiping the drive, you can sell or decommission your device without worrying about data recovery. This method is cost-effective, requiring only a USB and a live Linux distribution, making it accessible for various users.
If you need certification for data wiping, explore certified data wiping software. While this method isn’t certified, it effectively accomplishes the task. For users requiring additional assurance, certified software options are available for purchase.
Conclusion:
Securely wiping your hard drive is a crucial step in protecting sensitive data. This tutorial provides a step-by-step guide using a live USB with Kubuntu, offering a free and accessible method for individuals and businesses alike. Subscribe to the YouTube channel for more tech tutorials, and follow on Twitter @thesmango for updates.
- ⌨️Website https://techholler.com
- ⌨️TechHoller.com YouTube Channel – YouTubeChannel
- ⌨️TheSmango YouTube Gaming Channel – GamingYTChannel
- ⌨️Twitter https://twitter.com/thesmango
- ⌨️Live Streaming – https://twitch.tv/TheSmango
- ⌨️Discord – https://discord.gg/52etAD9
- ⌨️Trading Cards and More – AppalachiaTCG