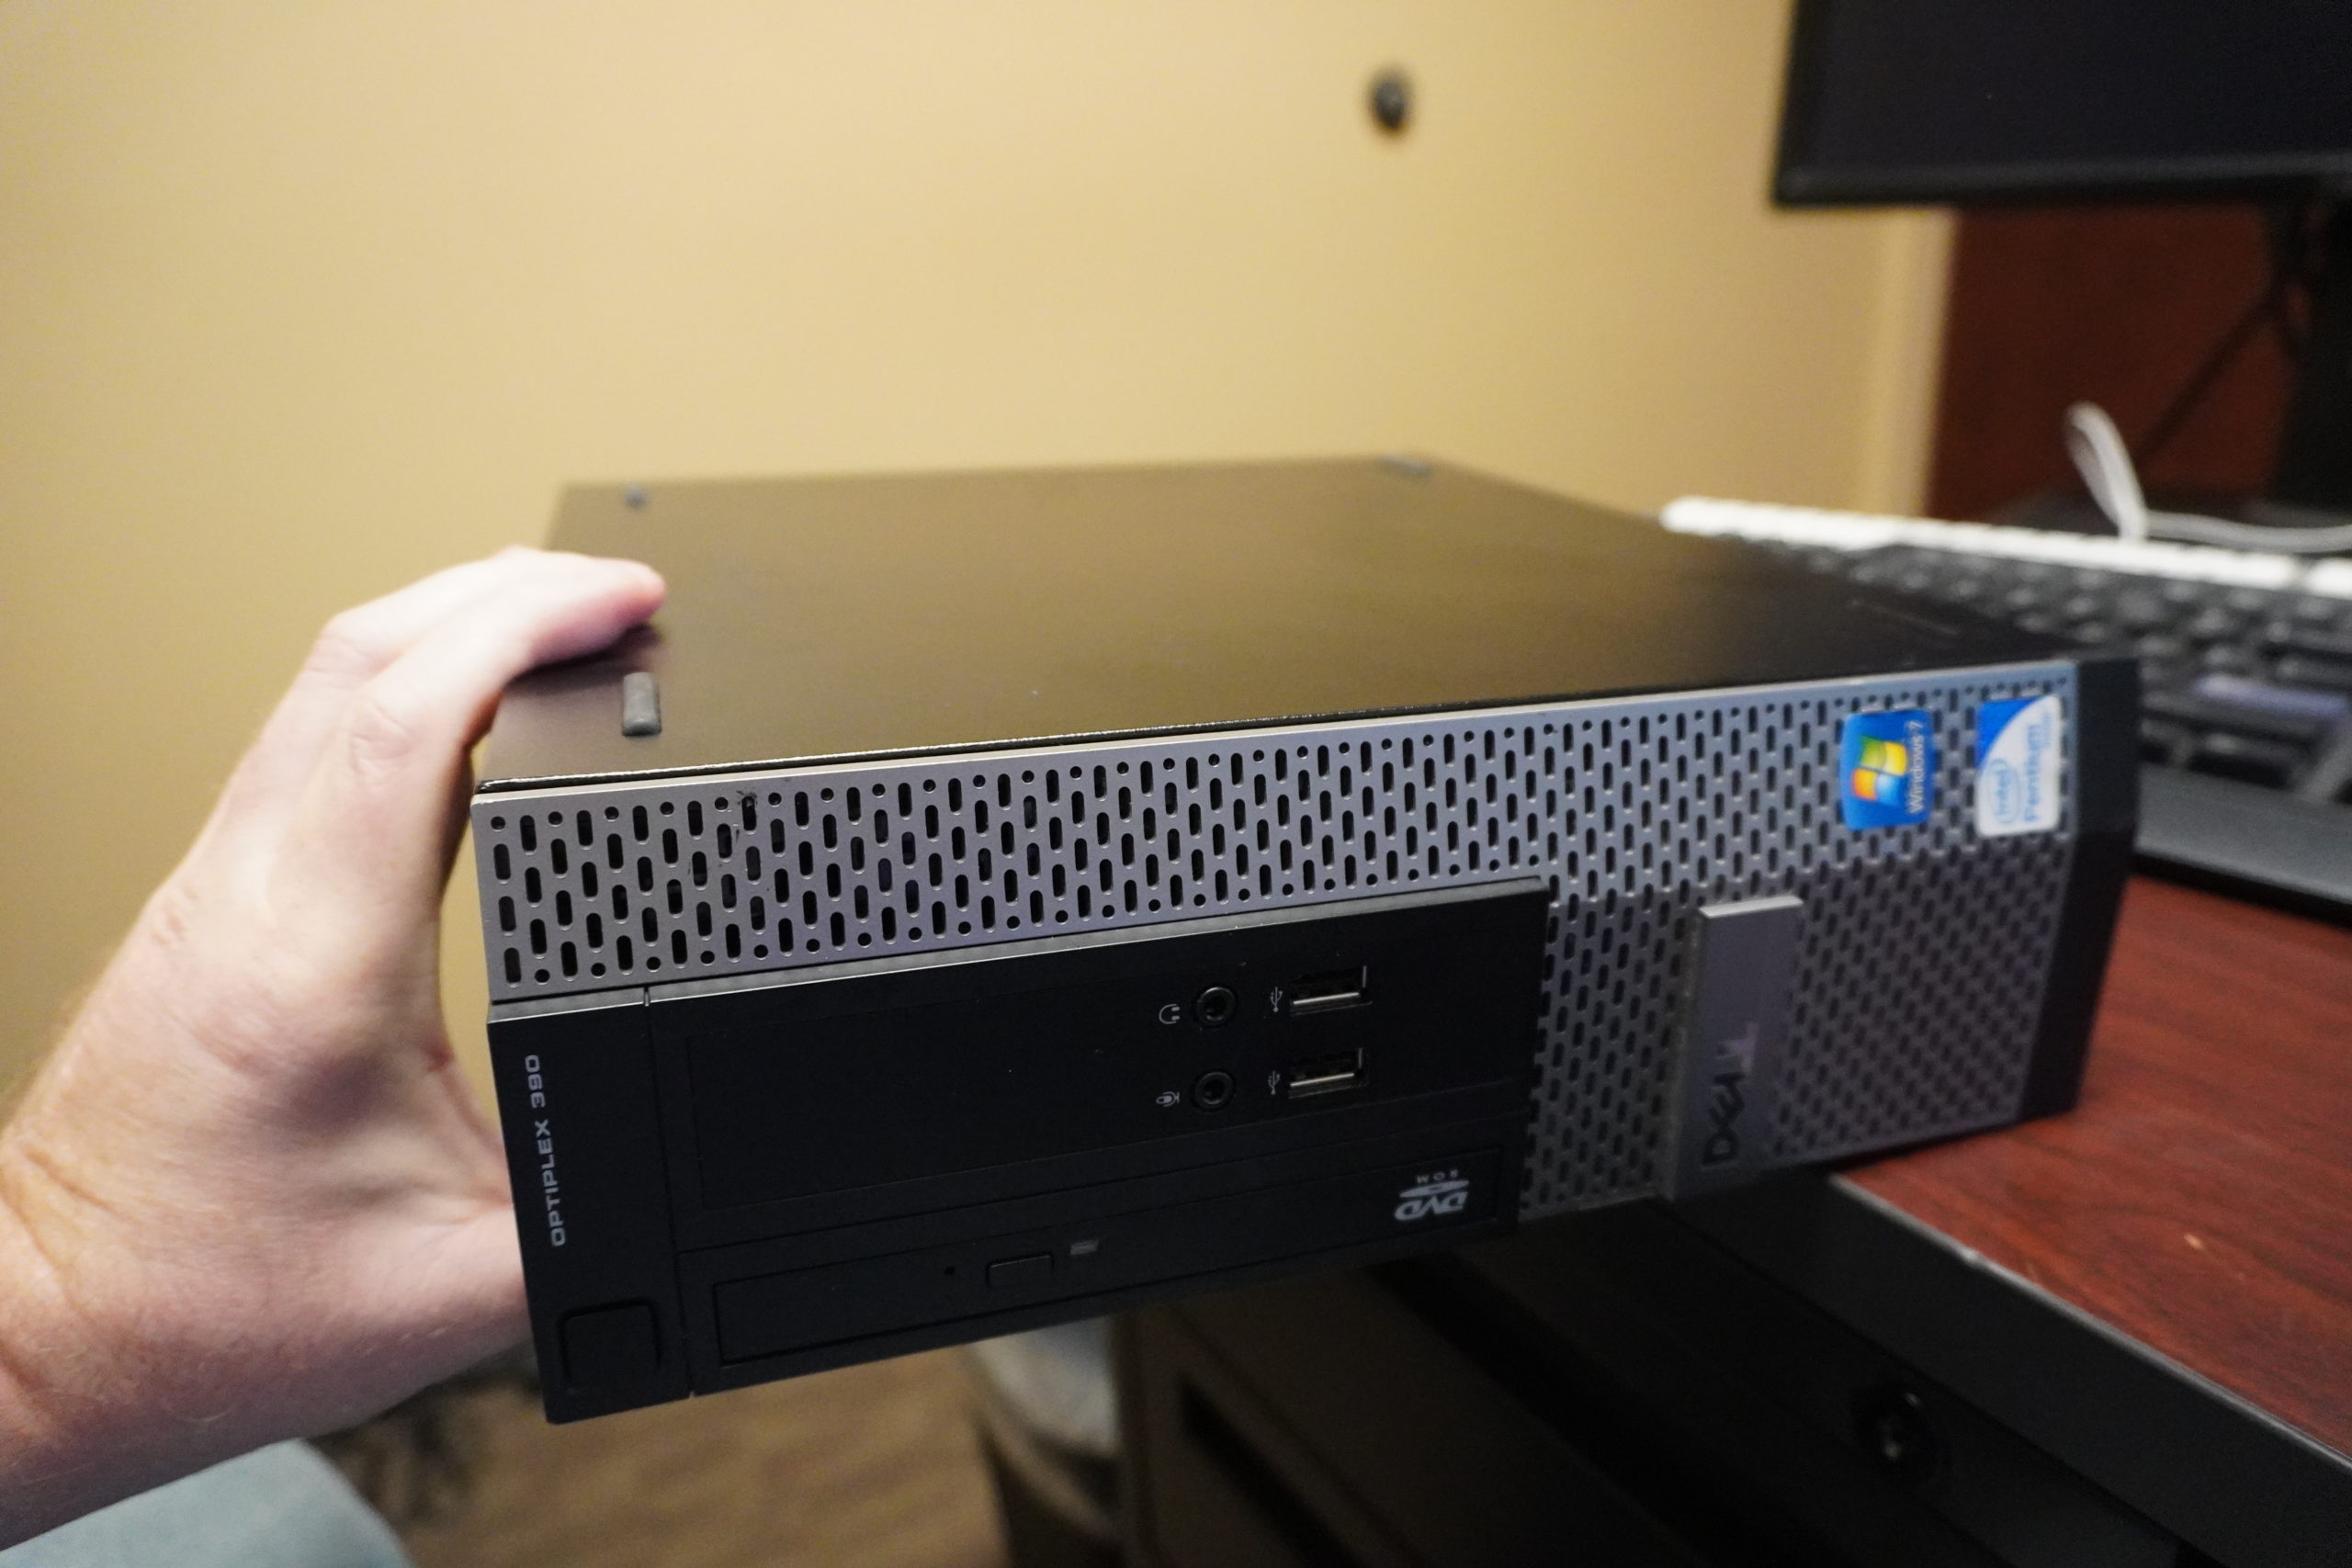
The Dell Optiplex 390 is a solid, reliable machine, but can it handle the demands of Windows 11? In this comprehensive guide, we’ll walk you through the process of cleaning and upgrading a Dell Optiplex 390 to prepare it for Windows 11. Along the way, we’ll show you how to apply thermal paste, bypass Windows 11 requirements, and discuss computer maintenance and upgrade tips.
Disassembling the Dell Optiplex 390
Disassembling your Dell Optiplex 390 is the first step in preparing it for upgrades. Start by turning off the computer and unplugging all cables. Open the case by pressing the release latch and sliding the cover off. Once inside, carefully remove the components such as the hard drive, RAM, and any expansion cards. Take your time with this process to avoid damaging any parts.
Cleaning and Applying Thermal Paste
Dust and thermal paste degradation can significantly affect your computer’s performance. Using compressed air, clean the interior of the computer, paying special attention to the fans and heatsinks. Remove the old thermal paste from the CPU using isopropyl alcohol and a lint-free cloth. Apply a small amount of new thermal paste to the center of the CPU before reattaching the heatsink. This will help improve heat dissipation and maintain optimal performance.
In the Video I actually used MX Cleaner from Artic. It works great, the only problem is, is that it STINKS. But every time I use it, thermal paste comes off way easier than alcohol could.
Using the 4 Cornners and X method is how I normally do my thermal paste applications.
Upgrading RAM and Storage
With only 4GB of RAM and a spinning hard drive, the Dell Optiplex 390 struggles to run modern operating systems smoothly. Upgrading the RAM to at least 8GB and replacing the hard drive with a solid-state drive (SSD) can make a significant difference in performance. These upgrades will not only make your system faster but also extend its lifespan.
Bypassing Windows 11 Requirements
Windows 11 has stricter hardware requirements compared to its predecessors. However, you can bypass these requirements by making some tweaks during the installation process. One method is to modify the registry during installation, which allows you to skip the TPM 2.0 and Secure Boot checks. Another approach is to use a third-party tool like Rufus to create a custom installation media that ignores these requirements.
Installing Windows 11
After preparing the hardware and creating a custom installation media, you can proceed with installing Windows 11. Boot from the installation media and follow the on-screen instructions. If you’ve bypassed the requirements correctly, the installation should proceed smoothly. Once installed, make sure to install all the necessary drivers and updates to ensure optimal performance.
Final Thoughts and Testing
After completing the installation, test your Dell Optiplex 390 to ensure it runs Windows 11 efficiently. Monitor the system’s temperature, performance, and stability. If everything is working well, you’ve successfully upgraded an older machine to run a modern operating system.
Why Upgrade Your Dell Optiplex 390?
Upgrading your Dell Optiplex 390 to run Windows 11 is a great way to breathe new life into an old machine. It can save you money compared to buying a new computer and allows you to enjoy the latest features and security updates from Microsoft. Plus, the process of upgrading and maintaining your computer can be a rewarding and educational experience.
- ⌨️Website https://techholler.com
- ⌨️TechHoller.com YouTube Channel – YouTubeChannel
- ⌨️TheSmango YouTube Gaming Channel – GamingYTChannel
- ⌨️Twitter https://twitter.com/thesmango
- ⌨️Live Streaming – https://twitch.tv/TheSmango
- ⌨️Discord – https://discord.gg/52etAD9
- ⌨️Trading Cards and More – AppalachiaTCG


